First Impressions of Fastlane Swift for iOS

Fastlane has just released with Swift support from version 2.69.0 onwards which means iOS developers no longer have to write Ruby code to configure Fastlane in iOS or macOS projects. Fastlane is one of the great tools to automate iOS deployments, releases and all sort of common iOS development tasks like Code Signing, Managing provisioning profiles, certificates and versions from Apple developer portal. Fastlane provided programmatic implementation to automate all these tasks so that we can set up Continuous Integration and Continuous Delivery on any CI server. However, iOS developers have to learn and write some Ruby code in order to configure Fastlane in the project which is one of the obstacles of using Fastlane effectively. Traditionally iOS developers are skilled in Objective-C or Swift but not in scripting languages like Bash, Ruby, Python. Fortunately, Fastlane has announced Swift support so that we can use Apple’s Swift programming language to configure CI/CD setup for iOS app. In this post, I will share my first impressions of using Swift version of Fastlane.
Getting Started with Fastlane Swift
Fastlane has added brief documentation of how to get started with Fastlane Swift here but we will see how it looks like in action. First thing to notice is that even Fastlane has provided Swift support, it is still packaged as Rubygem, you still have to install Fastlane using Rubygem using following command
|
1 2 3 |
$ gem install fastlane |
This might take few minutes to install all required dependencies. You might need to use sudo if you are using system Ruby that comes with default macOS. Once installed, we have to make sure you have Fastlane version above 2.69.0 to work with Swift. We can check that using fastlane -v command.
Now, let’s create a single view iOS project FastlaneSwift-Demo in Xcode. In order to check Cocoapods support let’s add some dependencies in Podfile. Now we will initiate Fastlane for this project using the following command.
|
1 2 3 |
$ fastlane init swift |
This will set up our project as usual by asking some questions about your credentials, app identifiers, schemes and you should be able to complete setup easily.
Once everything finished, you will see the message saying open Xcode project located at
|
1 2 3 |
$ ./fastlane/swift/FastlaneRunner/FastlaneRunner.xcodeproj |
This is additional Xcode project in order to configure Fastfile inside Xcode with all the autocompletion and syntax highlighting. At this point, you are good to use Swift for configuring lanes. However, if you want to see what has just happened, you may notice that Fastlane has created 8 directories and 34 Swift files inside fastlane directory.
Using Fastlane Swift
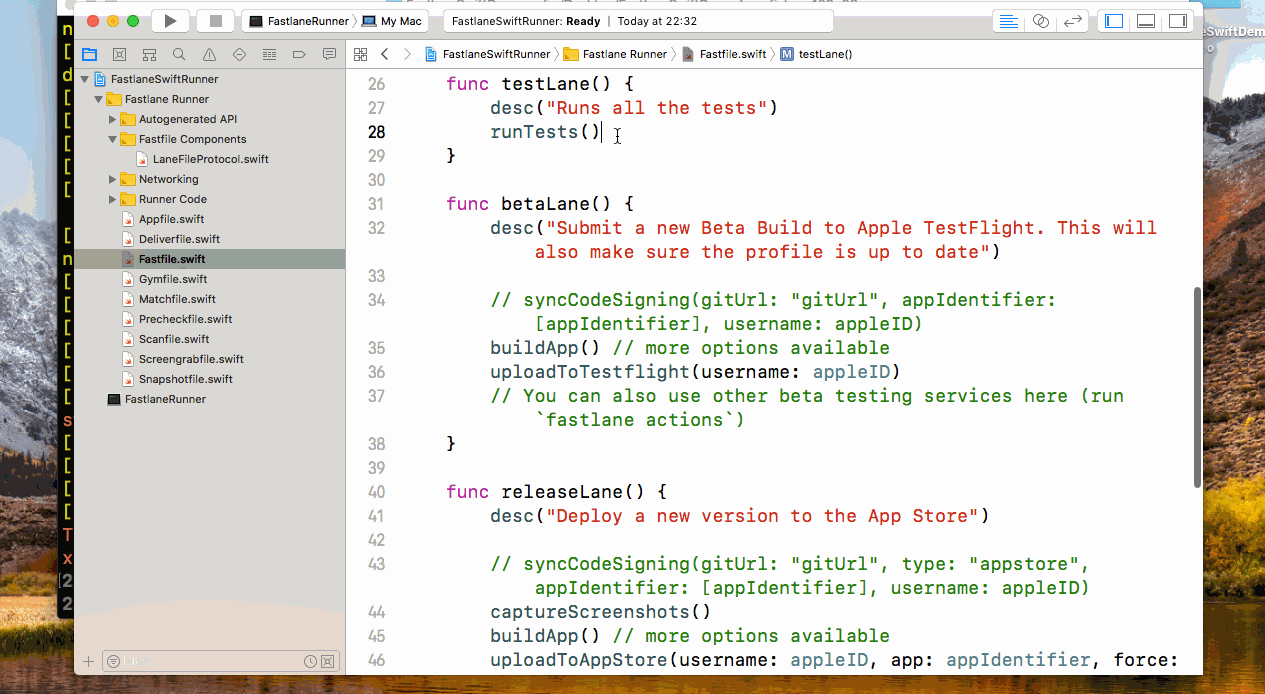
Now, let’s open Xcode project FastlaneRunner.xcodeproj in order to understand what’s inside. We will see the project structure like this:

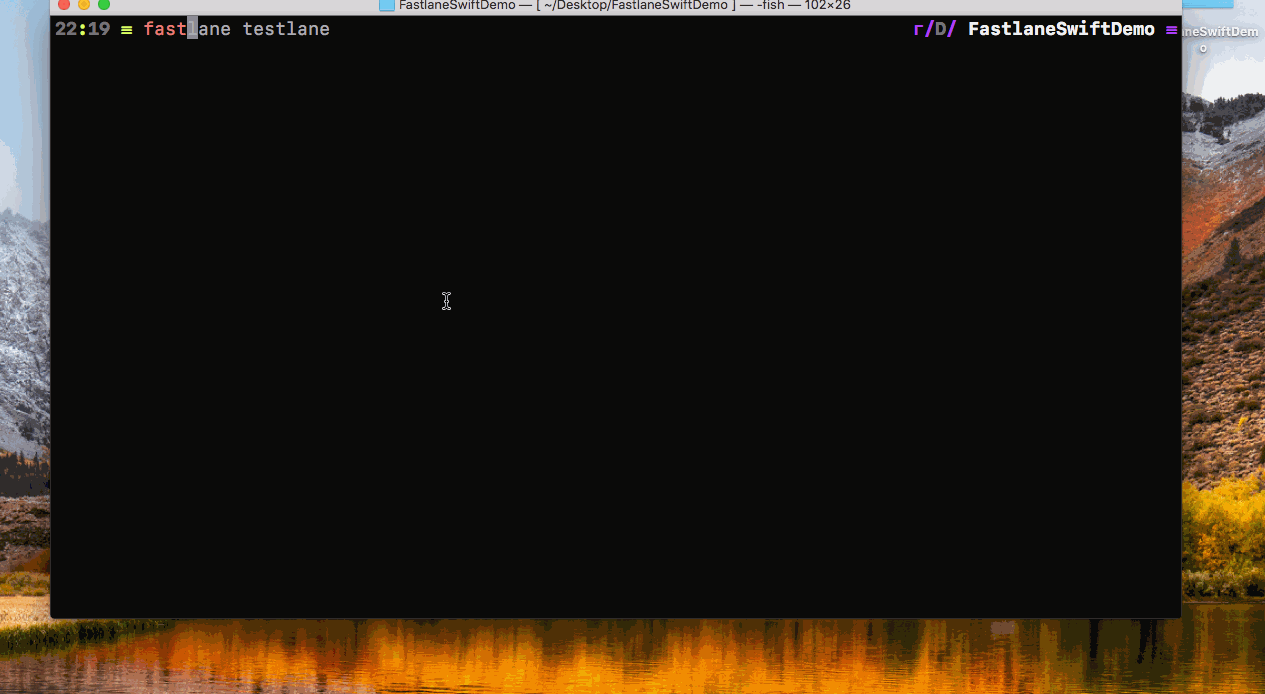
We can see that all the configurations like Fastfile are now written in Swift. Now we can create lanes using Swift methods. We can all the available Fastlane actions straight withing lanes. Now, let’s configure our unit and UI tests to run with Fastlane. As you can see that Fastfile has already created lane testLane() to run tests that we can execute directly using
|
1 2 3 |
$ fastlane testlane |
This will run all the available tests configured for the specific scheme. As you might remember from Ruby version that, Fastlane uses Scan in order to run Unit or UI tests. Let’s see how we can configure Scanfile using Swift version. There are two files created as template ScanfileProtocol.swift having all the options that can be configured and Scanfile.swift has template code where we can configure our options. Let add following options to Scanfile
|
1 2 3 4 5 6 7 8 9 10 11 12 13 |
class Scanfile: ScanfileProtocol { var workspace: String { return "FastlaneSwiftDemo" } var scheme: String { return "FastlaneSwiftDemo" } var codeCoverage: Bool? { return true } var addressSanitizer: Bool? { return true } var outputDirectory: String { return "./reports" } var outputTypes: String { return "html,junit" } var buildlogPath: String { return "~/Library/Logs/scan" } } |
Now that, we have configured our Scanfile and we can run the lane with our configured file.
You can see in gif above that, we have all the autocompletion and syntax highlight while writing configuration. Also, note that we can run tests using that configured lane but we have to manually select the scheme each time.
Configure Continuous Integration
We can test this on cloud-based Continuous Integration services like TravisCI if you are using Github. We just have to create a file .travis.yml and add following
|
1 2 3 4 5 6 7 8 9 10 11 |
language: objective-c osx_image: xcode9 before_install: - gem install fastlane --no-ri --no-rdoc --no-document install: true script: - fastlane testlane |
Now that we can enable project on Travis and start running the builds on TravisCI.
Demo Project and TravisCI
I have created demo project on Github FastlaneSwift-Demo and TravisCI job here nut TravisCI not finished tests as its waiting for input for the scheme for some reason.

Fastlane Swift under the Hood
The way, I understand how the Fastlane Swift implemented is as follows
- Fastlane Swift is Swift wrapper to execute Ruby commands under the hood
- All the Scan, match Gym options are created using respective protocols and extensions
- All the Fastlane actions are stubbed into massive Fastlane.swift file which running Ruby commands
- Fastlane logs can clearly show that all the bunder and RubyGems are still executing under the hood.
Pros and Cons of Fastlane Swift
Fastlane Swift has just born, so it would be unfair to say pro and cons but consider this as my first impressions of Fastlane Swift.
Pros
- iOS Developers no longer have to use Ruby code to configure CI/CD of iOS apps
- Xcode project has provided autocompletion and syntax highlighting for all available Fastlane actions.
- The code is purely in Swift so can be compiled and deployed easily.
- Every iOS developer can now understand Fastlane easily.
Cons
It’s too early to write about its cons but what I feel is
- Fastlane Swift just a wrapper which adds unnecessary 38 swift files to the iOS project including Xcode project.
- Fastlane should have come up with SDK that can be installed using Cocoapod, Carthage or Swift Package Manager
- The little issue that Scanfile configuration is not respected as I have to input scheme manually. Or something I am doing wrong/misunderstood
- When I want to any Fastlane action, the method takes millions of parameters. It would great to have separate config file
- Having additional Xcode project might confuse some cloud-based CI services like BuddyBuild, Bitrise as they build that project as well on top of normal iOS app.
- It’s too early and it’s not purely Swift implementation of Fastlane, it just wraps up Ruby commands under the hood.
Conclusion
Fastlane has made great improvement by adding Swift support and huge thanks to contributor, it might be game changing in future. However, my personal opinion is configuration has to be configuration and should be written using config files and scripting languages. Unfortunately Swift isn’t the scripting language but it’s everyone’s personal choice. Until Fastlane Swift gets mature, I will stick with Ruby version. What is your opinion? I would recommend every iOS developer should give it a try. Please correct me if I am missing in this post.